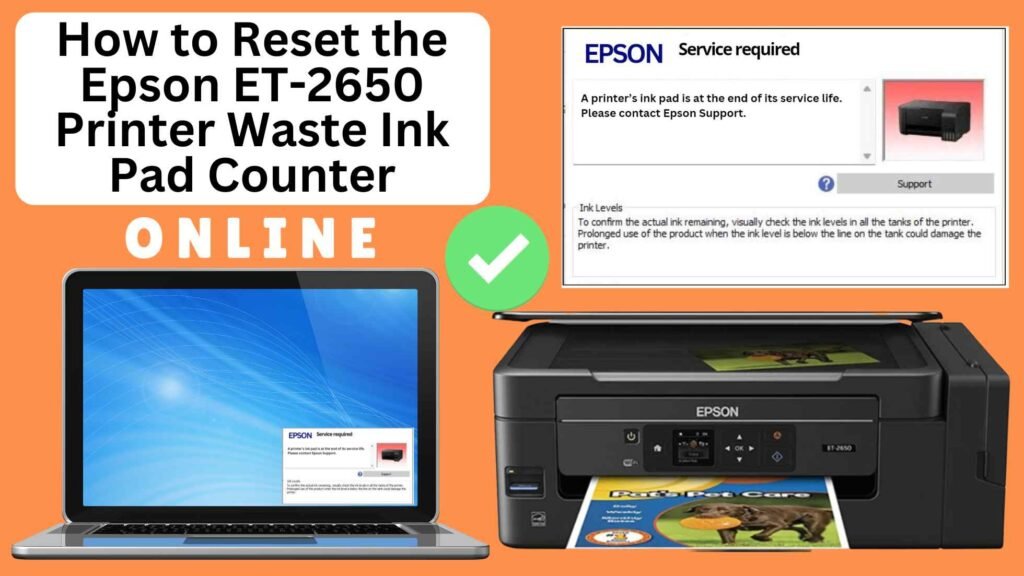
If you own an Epson ET-2650 printer, you may have come across the “Waste Ink Pad Full” error message. This common issue arises when your printer’s internal waste ink pad counter reaches its limit. While this may seem alarming, there’s no need to worry—this issue can be easily solved by resetting the waste ink pad counter.
In this comprehensive, step-by-step guide, we’ll show you how to reset the Epson ET-2650 waste ink pad counter online using an online printer reset module. We’ll walk you through each step of the process, ensuring that you can get your printer back in working order in no time.
What is the Waste Ink Pad Counter?
The waste ink pad counter is a system in your Epson printer that tracks the amount of ink absorbed by the waste ink pads. These pads are responsible for soaking up any excess ink that the printer doesn’t use during printing, particularly during cleaning cycles. Over time, these pads can become full, triggering a warning message from the printer.
When the printer detects that the waste ink pads are nearing their limit, it will stop printing until the waste ink pad counter is reset. The reset clears the error, but it’s important to understand that the reset does not physically replace the waste ink pads—it merely resets the tracking counter.
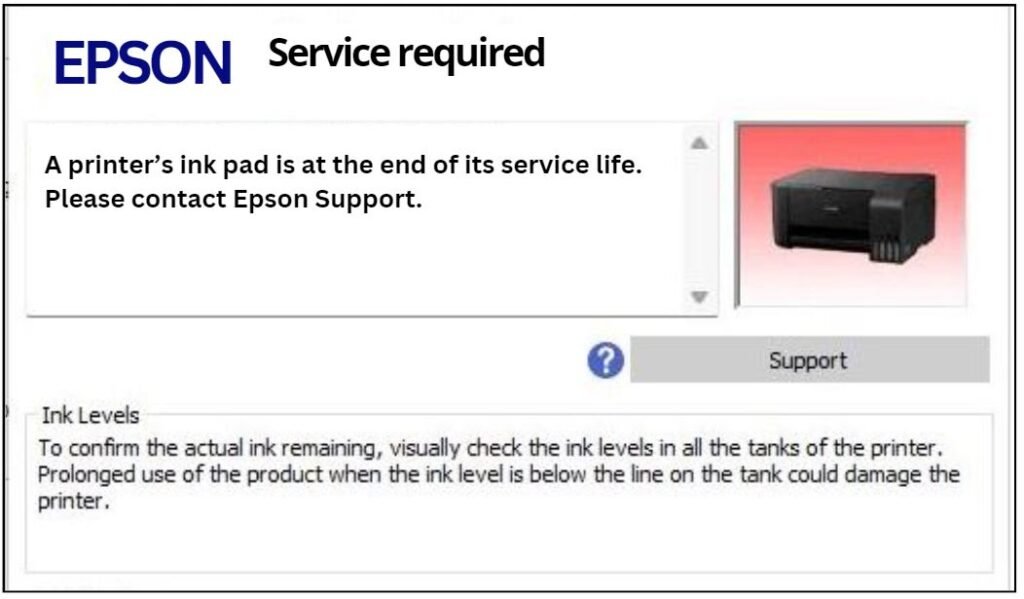
What Is the “Waste Ink Pad Full” Error?
The “Waste Ink Pad Full” error appears when the printer’s internal waste ink pad counter reaches its maximum threshold. Waste ink pads are used to absorb excess ink during maintenance tasks like print head cleaning, nozzle checks, and ink flushing. As the printer performs these tasks, ink accumulates in the waste pads, and the printer uses an internal counter to track this. When the counter reaches its limit, the printer halts all operations to avoid ink leakage or damage.
While the message may cause concern, it does not necessarily mean that the waste ink pads are physically full. It simply means that the internal counter has hit its limit and needs to be reset. Fortunately, resetting the counter is a straightforward process, and it can be done online using an online printer reset module.
Why Should You Reset the Waste Ink Pad Counter?
Here are some reasons why resetting the waste ink pad counter is essential:
- Clear the Error Message: When the internal waste ink pad counter reaches its maximum, the printer will display the “Waste Ink Pad Full” message. Resetting the counter clears this message and allows you to resume printing.
- Prevent Printer Lockout: If you don’t reset the counter, your printer may lock up completely, preventing any further printing until the issue is resolved.
- Temporary Solution: The reset clears the error, but it doesn’t address the condition of the physical ink pads themselves. This solution is temporary, and you should replace the pads when they become saturated.
How to Reset the Epson ET-2650 Waste Ink Pad Counter Online: Step-by-Step Guide
Step 1: Buy the Online Printer Reset
Buy the Online Printer Reset. Once the payment has been made, contact our support team to provide instructions and remote assistance at the following: Messenger, Telegram, WhatsApp, or email resetter.net@gmail.com for the ONLINE PRINTER RESET.
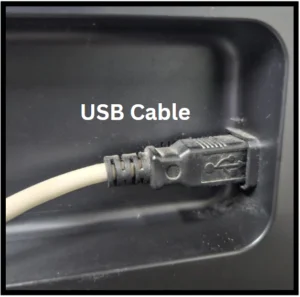
Step 2: Connect the printer to your PC or laptop using a USB cable
Before proceeding, make sure you have your printer connected to your computer and that it is powered on.
Step 3: Download the Online Printer Reset Module
The first thing you’ll need to do is download the Online Printer Online (powered by USB Redirector). This software will allow you to reset the waste ink pad counter online.

Step 4: Launch the Online Printer Reset Module
Run the software on your computer by following the on-screen instructions.
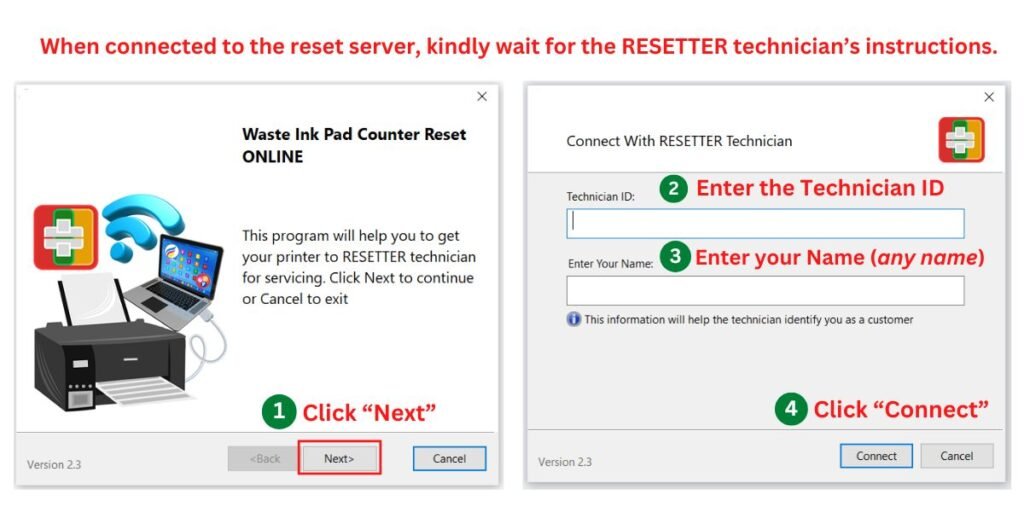
Once the software is running and when connected to the reset server, kindly wait for the RESETTER technician’s instructions until the printer’s waste ink pad counter has been successfully reset.
Step 5: Reset the Waste Ink Pad Counter
Now it’s time to reset the waste ink pad counter. The RESETTER technician will guide you through the process in simple steps.
Step 6: Test Your Printer
After the reset process, it’s important to test your printer to ensure everything is working properly. Turn off your printer, wait a few seconds, and then turn it back on. Try printing a test page to confirm that the error has been cleared and the printer is functioning correctly. The error should disappear after the printer has been successfully reset.
Additional Tips and Considerations
1. Replace Waste Ink Pads When Needed
The waste ink pads will eventually become fully saturated with ink, and at that point, they need to be replaced. Replacing the pads typically requires disassembling the printer, which is best done by a technician. If you notice ink leakage or other issues, it might be time to replace the pads.
To minimize waste ink pad issues, make sure to regularly perform printer maintenance tasks, such as:
2. Using the printer frequently (this helps reduce unnecessary cleaning cycles)
3. Performing regular nozzle checks
4. Running printhead cleanings only when necessary
Conclusion
Resetting the Epson ET-2650 waste ink pad counter online is a quick and effective solution to clear the Waste Ink Pad Full error and get your printer back to working order. By using tools like the WIC Reset Utility, you can easily reset the internal counter and resume printing. However, it’s important to remember that resetting the counter is only a temporary fix—it does not address the physical condition of the waste ink pads.
Regular printer maintenance and timely replacement of the waste ink pads are essential to keeping your Epson ET-2650 in good working condition. By following the step-by-step guide outlined above, you can resolve the
Happy printing!
Did this guide help you? Let us know in the comments, and feel free to share it with others who might benefit from this information!